Precision Personified: A Step-by-Step Guide to Building Your Custom Rifle
At Rangeview Sports, we believe a rifle should be an extension of the shooter. While off-the-shelf firearms offer excellent performance, a true custom build allows you to engineer a rifle precisely for your discipline—whether that’s extreme long-range (ELR) precision shooting, competitive PRS/NRL, or a lightweight, high-performance hunting rig for the Canadian wilderness.
Building a custom rifle is a rewarding journey that takes you from concept to a bespoke shooting machine. Our expert gunsmiths have put together a guide covering the essential components and steps, ensuring your next rifle is built for victory.
Step 1: Define the Purpose and Select the Calibre
Before ordering a single part, you must answer one question: What is the primary mission of this rifle?
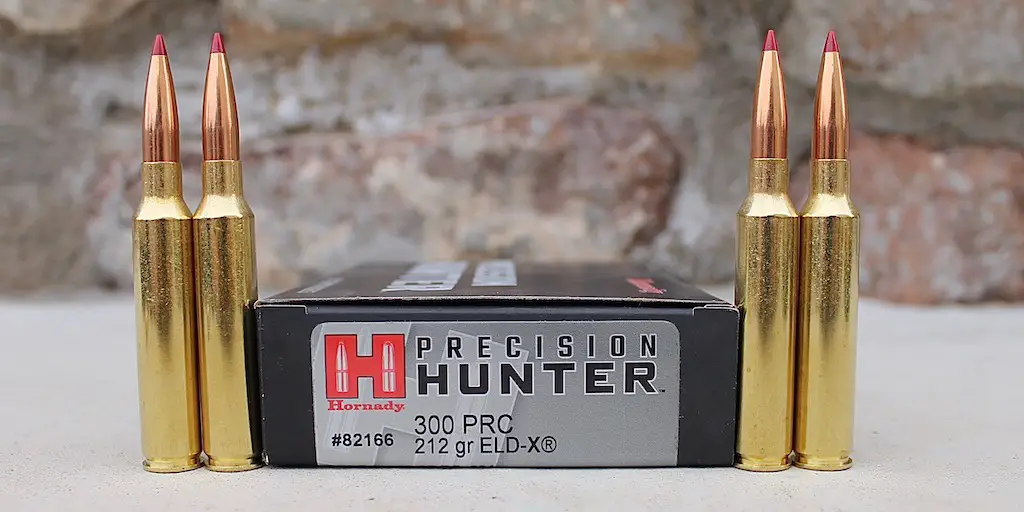
- Precision/Competition: Requires heavier barrel contours for heat management, often a modular chassis for adjustability and accessory mounting, and cartridges known for high ballistic coefficients (e.g., 6.5 Creedmoor, 6mm Dasher, .300 PRC).
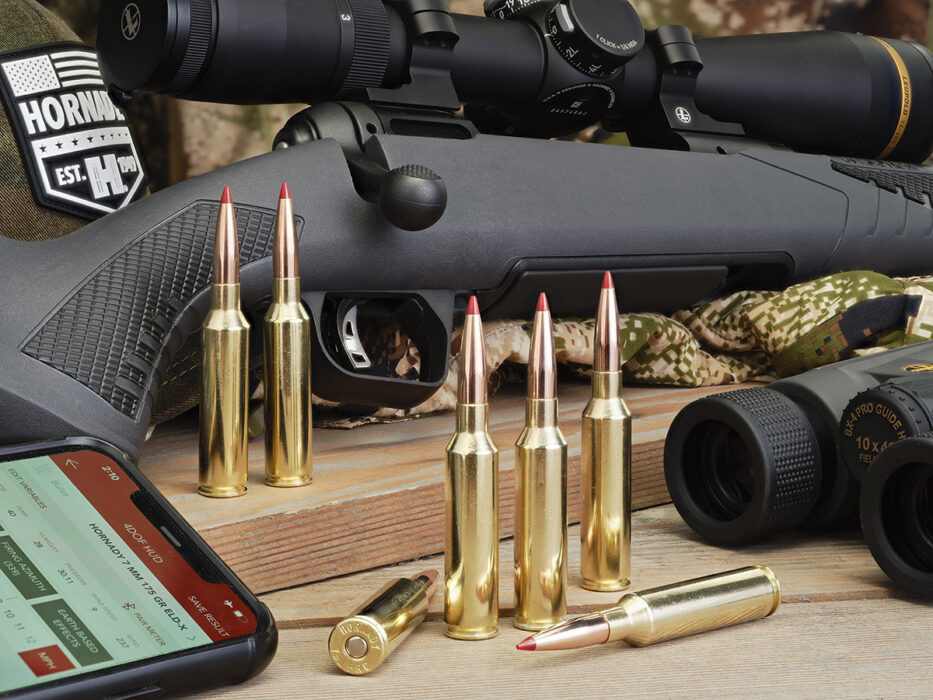
- Hunting/Field: Requires a lighter, more portable package, often a lighter contour carbon fibre barrel, and a calibre suitable for the game and distances (e.g., .308 Win, 7mm Rem Mag, .30-06).
Your choice of calibre will dictate the size and type of action you need (short action, long action, or magnum).
Step 2: The Core Foundation – Choosing the Action
The action is the heart of your custom rifle, responsible for feeding, locking, and firing the cartridge. This is not the place to compromise.
- Custom vs. Trued Production: While a factory action (like a Remington 700) can be “trued” by a gunsmith for improved performance, a dedicated custom action (such as those from Defiance, Impact, or Bighorn) offers tighter tolerances, better materials, smoother cycling, and often comes with integrated features like a heavy-duty recoil lug and a high-quality rail.
- Key Features: Look for a stainless steel or robust coated finish, a floating or easily interchangeable bolt head (useful for calibre swaps), and a footprint compatible with the widest range of aftermarket stocks and triggers (the Remington 700 footprint is the most common).
Step 3: Where Accuracy is Made – The Barrel
The barrel is arguably the most critical component for accuracy. Your choice must align with your action and purpose.
- Manufacturer: Select a match-grade barrel from a reputable maker known for consistency (e.g., Proof Research, Bartlein).
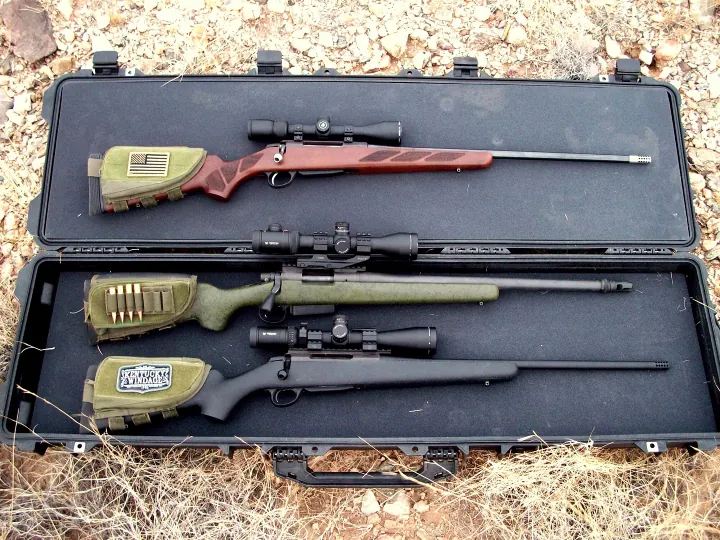
- Contour & Material: A heavy contour (e.g., MTU) is best for benchrest and competition to resist heat build-up. A lighter, fluted steel or carbon fibre-wrapped barrel (like those we stock at Rangeview Sports) is ideal for a lightweight hunting rifle.
- Twist Rate: The twist rate (the speed at which the rifling spins the bullet) must match your chosen calibre and, more importantly, the specific bullet weight and length you plan to shoot. Consult our experts—this detail is vital for stabilizing the projectile.
- Chambering: For maximum precision, the barrel is chambered and threaded to the action by a skilled gunsmith. This is a non-negotiable step for a truly custom, high-accuracy build.
Step 4: Ergonomics and Repeatability – The Stock or Chassis
The stock or chassis is your interface with the rifle, determining comfort, control, and shot repeatability.
- Chassis: Typically aluminium, highly modular, and adjustable for length-of-pull, cheekpiece height, and grip angle. Popular for competitive shooters due to their integrated M-LOK slots, Arca rails, and ease of adding ballast weights.
- Traditional Stock: Often made of fibreglass, carbon fibre, or high-grade laminate/walnut. Lighter and preferred by hunters. For either option, ensuring the action is properly bedded is critical to guarantee a perfect, stress-free mating surface between the action and the stock.
Step 5: Precision Control – The Trigger
The trigger is the point of contact between you and the shot. A match-grade trigger offers a clean, consistent break that eliminates shooter-induced error.
- Pull Weight: Hunting rifles typically require a slightly heavier pull (1.5–3 lbs) for safety in the field, while competition rifles can safely run sub-1 lb.
- Style: Choose between a single-stage (breaks immediately after minimal pull) or a two-stage (a first stage of light take-up followed by a solid “wall” and then the break). Brands like TriggerTech offer exceptional quality and adjustability.
Step 6: The Final Assembly and Gunsmithing
Once all components are selected, the build process shifts to expert assembly.
- Barrel Installation: The barrel is threaded and chambered to the action with precise headspace measurements.
- Action/Stock Bedding (If using a stock): Applying a compound to ensure a perfect fit, which is crucial for accuracy.
- Component Assembly: Installing the trigger, mounting the barreled action into the stock/chassis, and torquing all fasteners to spec.
- Optics Mounting and Zeroing: This includes selecting a quality rail and rings, mounting your premium scope, ensuring the reticle is level, and bore-sighting the rifle.
Your Trusted Partner for a Custom Rifle in Canada
Building a custom rifle is a complex project that requires specialized tools and expert knowledge, especially concerning headspace and precise component fitting. At Rangeview Sports, our fully equipped Gunsmithing Services department is here to ensure your build is completed safely and to the highest standard of precision.
From muzzle threading and re-barrel work to scope mounting and bore sighting, let us handle the technical complexities. Bring your components to our Newmarket location, or contact our team to discuss your dream build. The perfect rifle for you is only a consultation away.